Scanning in four steps
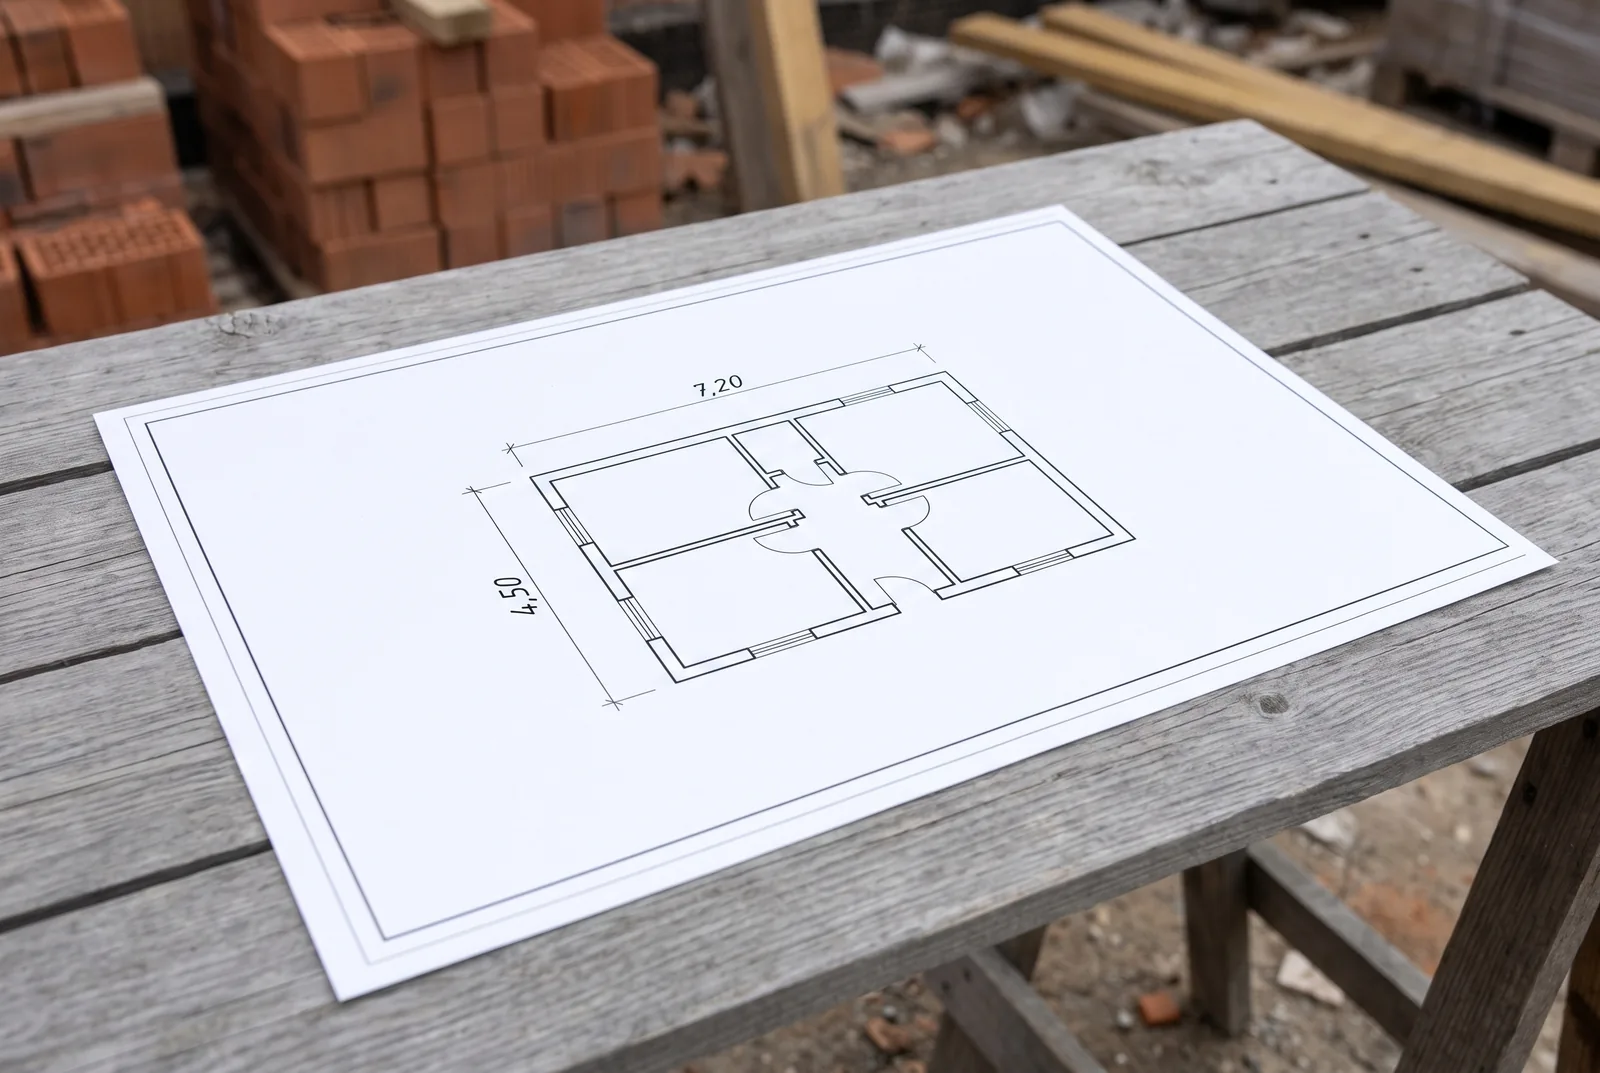
Photo taken at an angle
You photograph the paper drawing; the phone does not have to be held exactly above the sheet.
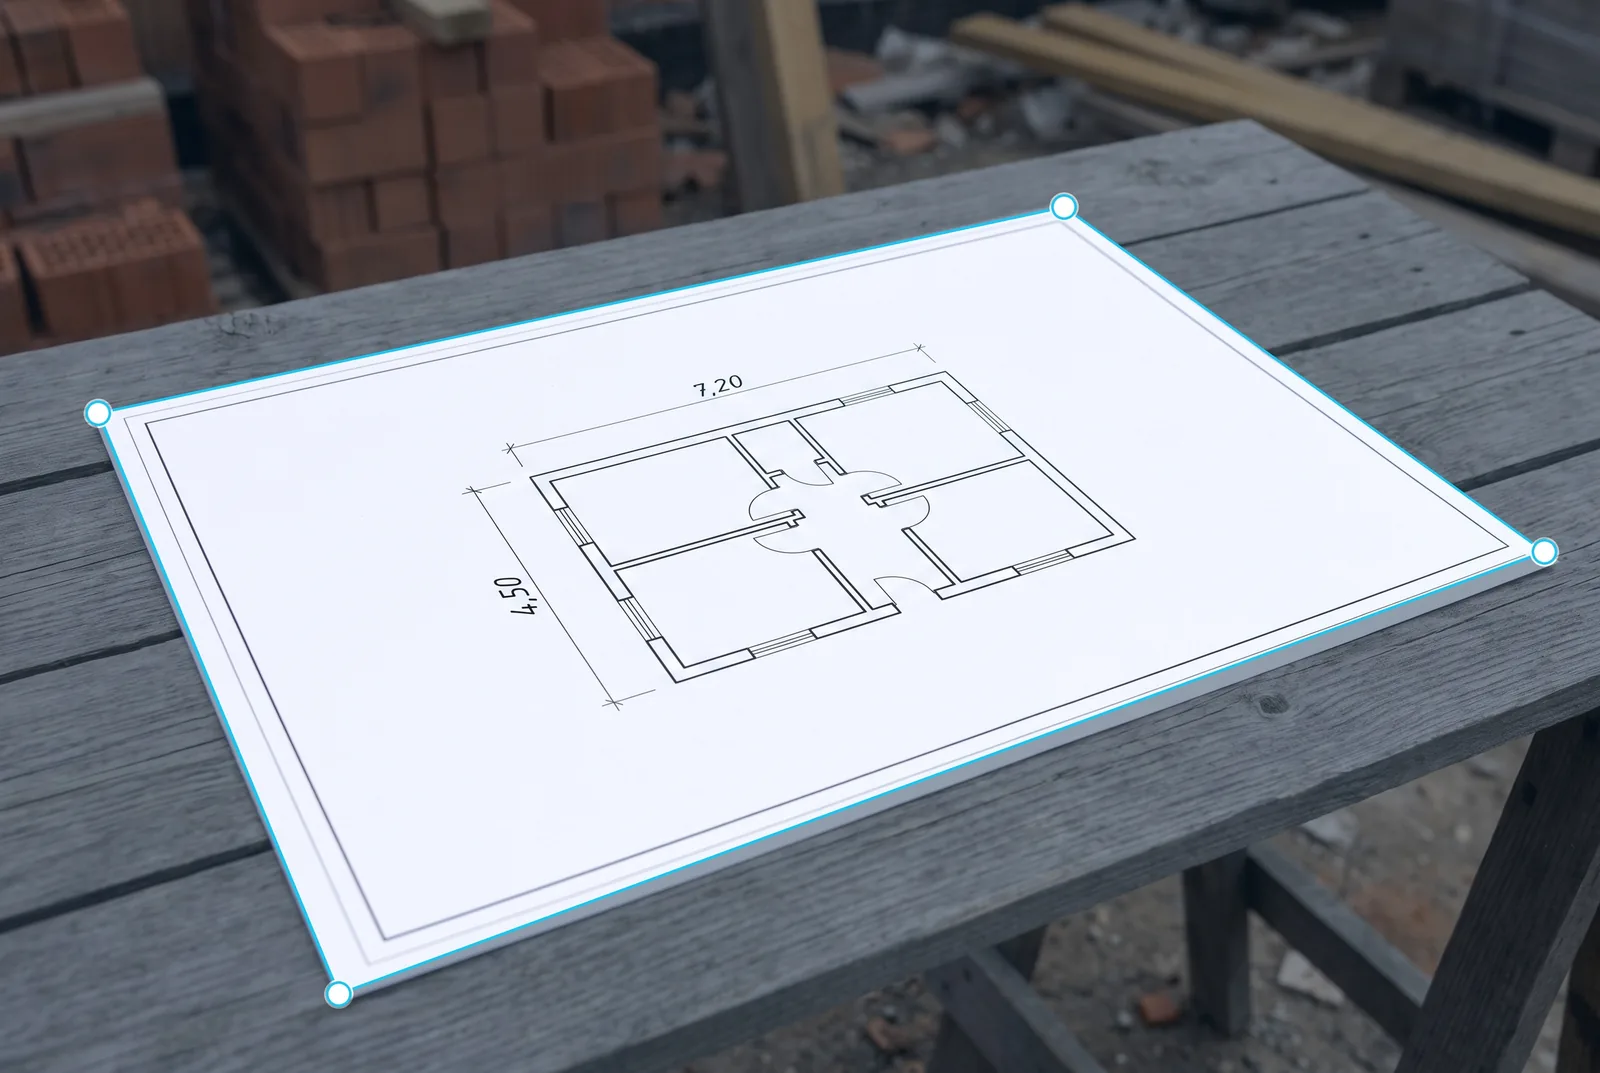
Corner detection
The app detects the sheet corners. You can move the handles manually when needed.
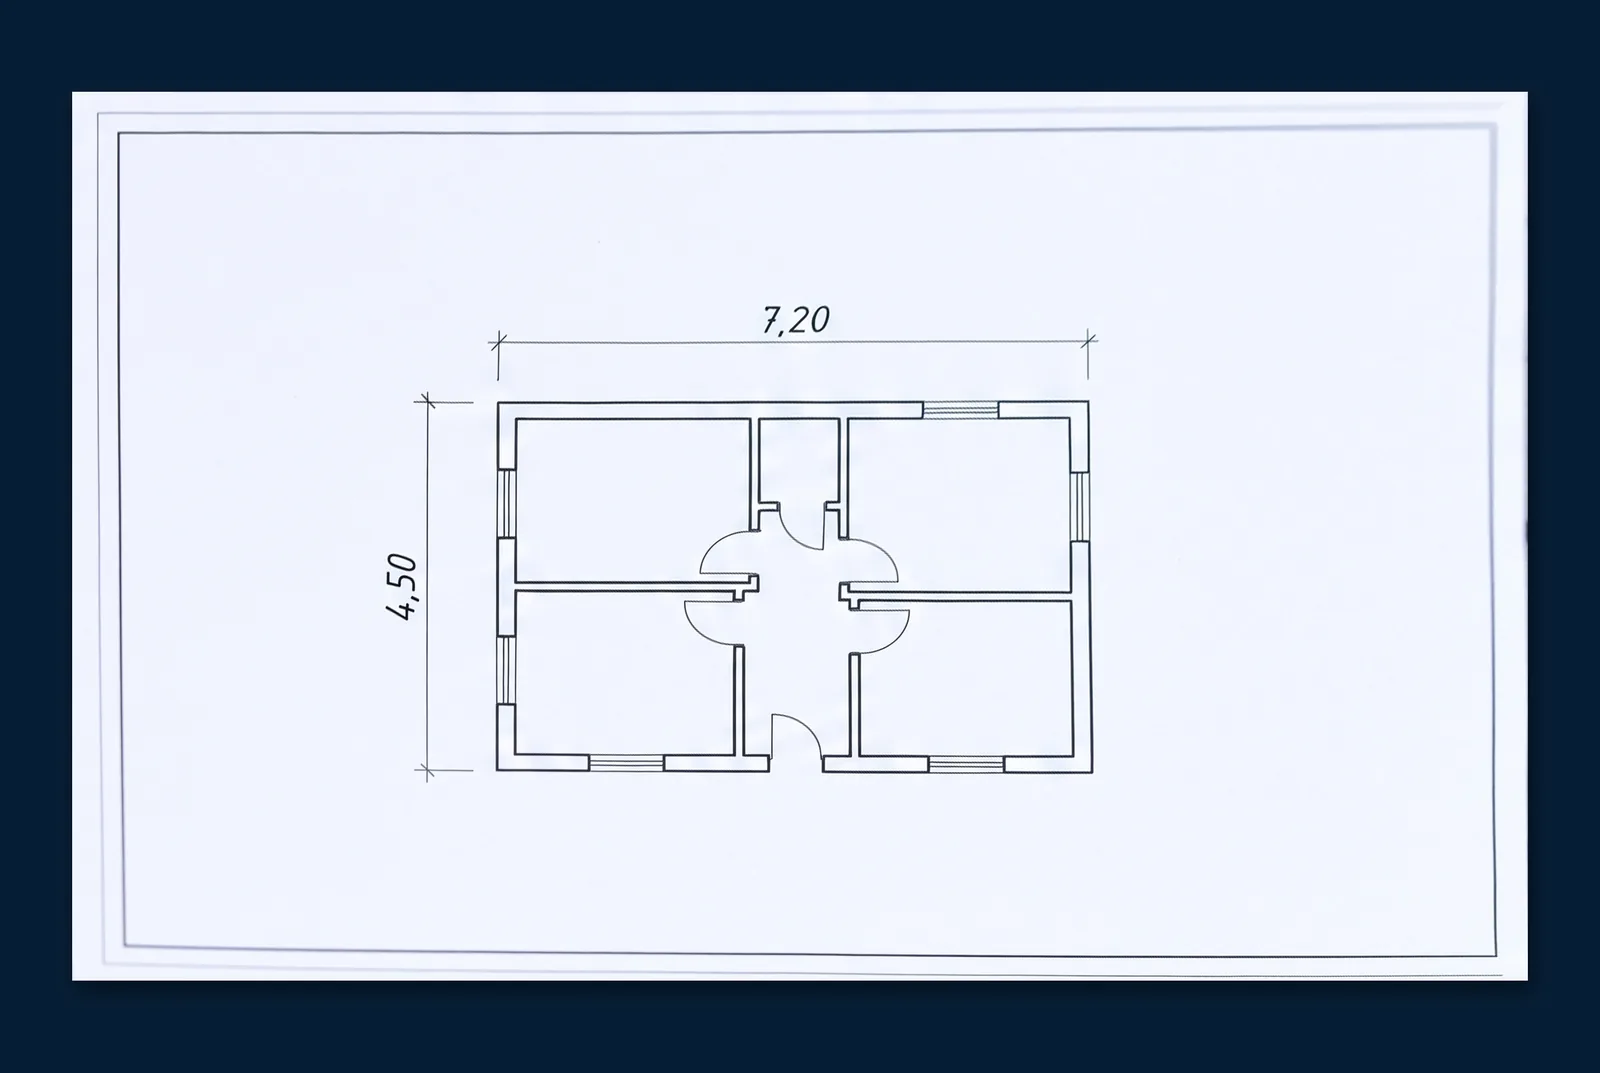
Perspective correction
The image is straightened to a top-down view: lines are straight and parallel.
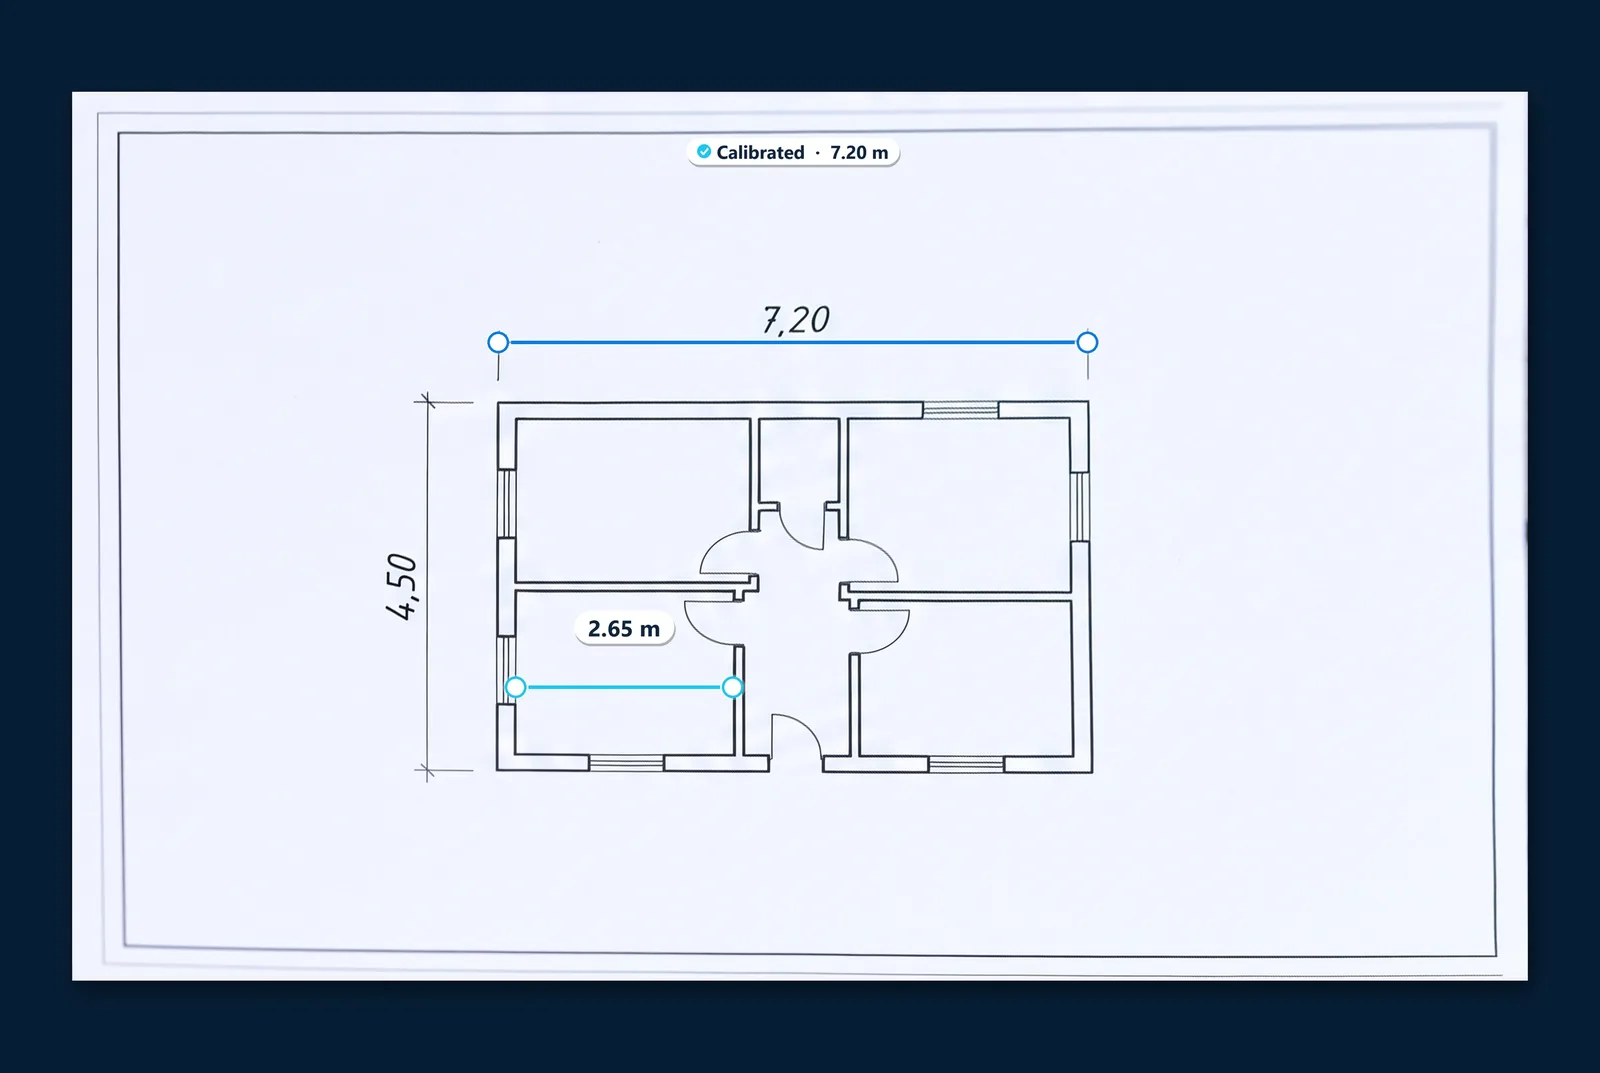
Calibrate and measure
You mark a known dimension, such as 7.20 m, and measure other distances on the drawing.


How to take a good photo
- Lay the sheet flat on a table or the floor and smooth out any creases. Perspective correction assumes a flat sheet.
- Fit the whole sheet in the frame so all four corners are visible. Leave a narrow margin of background.
- Choose a contrasting background, for example a dark desktop under light paper; the edges of the sheet are then easier to detect.
- Light the sheet evenly. Avoid the shadow of your hand and phone, and reflections on glossy or laminated paper.
- Hold the camera as close to above the centre of the sheet as you can. Skalnivo straightens the perspective, but the closer the shot is to straight-on, the less distortion remains.
- Wait for focus. Thin lines and dimension figures must stay legible when zoomed in.
What to avoid
- Sheets that are wavy, creased or rolled up: perspective correction does not remove distortion caused by the paper itself.
- Wide-angle shots from very close up and panorama mode, which distort the image more than perspective does.
- Photographing only part of a sheet without its corners: the correction relies on the four corners of the paper.
- Photos of a monitor screen (flicker, moiré) and drawings that were enlarged or reduced on a photocopier.
- Freehand sketches with no known dimensions: calibration needs a labelled segment.
Why calibration is needed after a scan
Perspective correction (a homography) reduces the photo of a sheet to a rectangle, but it does not know real lengths: it does not know how many metres the sheet represents. The scale comes from a dimension you know. So after a scan you pick two points on a labelled segment and enter its length.
- Choose a long, straight dimension located in the part of the drawing where you will be measuring.
- If the printout was reduced or enlarged, the printed scale no longer applies; only a dimension labelled with a number counts.
- After calibrating, check the result against a second known dimension. A difference of a few percent points to distortion in the photo or an error in the calibration segment.
More in the guide A photo of a plan for measuring and on the Accuracy and methodology page.
How to scan a paper drawing
Scanning a paper drawing in Skalnivo
Step 1: Start the scanner
On the bottom bar choose Scan and tap Start scanner. The app asks for camera permission only at this point.
Step 2: Take the photo
Point the camera at the flat sheet, fit all the corners in the frame and take the photo. You can retake it.
Step 3: Check the corners
Skalnivo detects the edges of the sheet. Drag each of the four corners if the detection is off.
Step 4: Adjust the image
Choose colour or black-and-white mode, then rotate and crop the image. You can view the original at any time.
Step 5: Save the scan
Save the result as a new document. It appears in the Library and the app goes straight to the reader.
Step 6: Calibrate and measure
Choose Tools, then Calibration, and pick a labelled dimension. Then measure distances, polyline lengths or areas.
Camera and privacy
- The app asks for camera access only when you enter the scanner and releases it when you leave the scanning screen.
- Photos and scans stay on the device. We do not upload them to a server and do not offer a cloud.
- The browser tool has no camera scanner: you upload a finished photo and set the corners by hand.
Frequently asked questions
Can Skalnivo measure a room with the camera?
Is a photo of a drawing as accurate as a PDF?
What if the corners were detected wrongly?
Is calibration necessary after scanning?
Related pages
Updated: